
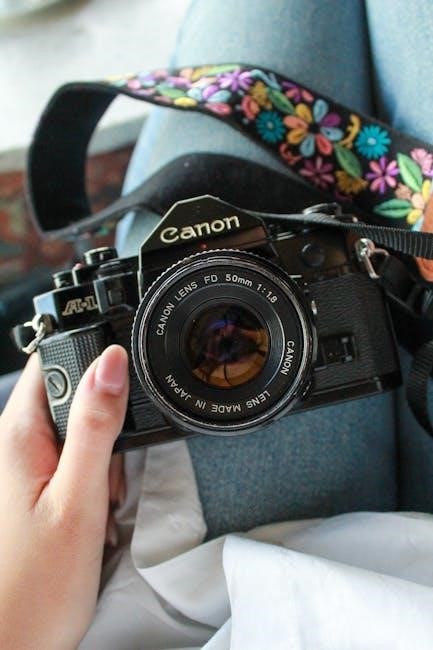
canon ae 1 camera manual
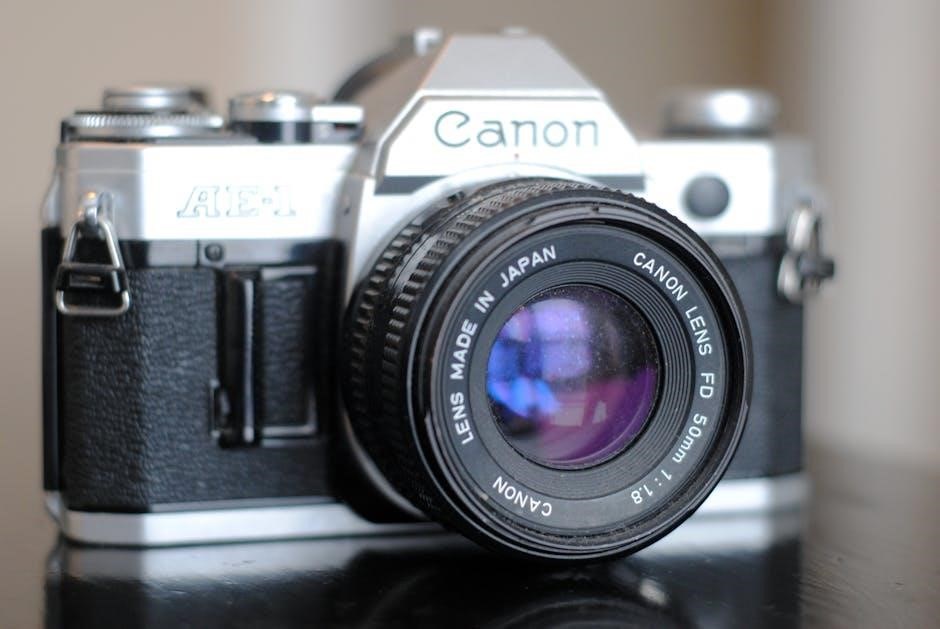
The Canon AE-1, released in 1976, revolutionized photography, offering accessible features and automatic exposure modes.
Numerous manuals, including original instructions and quick start guides, are readily available online for download, aiding users.
Historical Context of the AE-1
Launched in 1976, the Canon AE-1 arrived during a pivotal shift in the photographic landscape. It challenged established brands like Nikon and Pentax, offering a compelling blend of features and affordability. Prior to the AE-1, automatic exposure was often found in more expensive cameras. Canon democratized this technology, making it accessible to a wider audience.
The camera’s introduction coincided with the rise of consumer photography, fueled by increased disposable income and a desire for creative expression. Numerous resources, including the original Canon AE-1 instruction manual, document this era. The AE-1 quickly became a favorite among both amateur and professional photographers, solidifying Canon’s position in the market.
Key Features and Innovations
The Canon AE-1 boasted several groundbreaking features for its time. Its electronic shutter, offering a wide range of speeds (2 to 1/1000th of a second), provided exceptional control. The camera’s automatic exposure (AE) modes – shutter-priority and aperture-priority – simplified operation. Interchangeable lenses expanded creative possibilities, and the readily available instruction manual detailed their use.
Furthermore, the AE-1 incorporated a microcomputer for accurate light metering. This, combined with the camera’s robust build quality, made it a reliable and versatile tool. The quick start PDF manual highlights these features, making the AE-1 a landmark achievement in 35mm camera design.
Setting Up Your Canon AE-1
Initial setup involves attaching a compatible lens, installing a battery, and loading 35mm film. The Canon AE-1 manual provides detailed, step-by-step guidance for each process.
Attaching the Lens
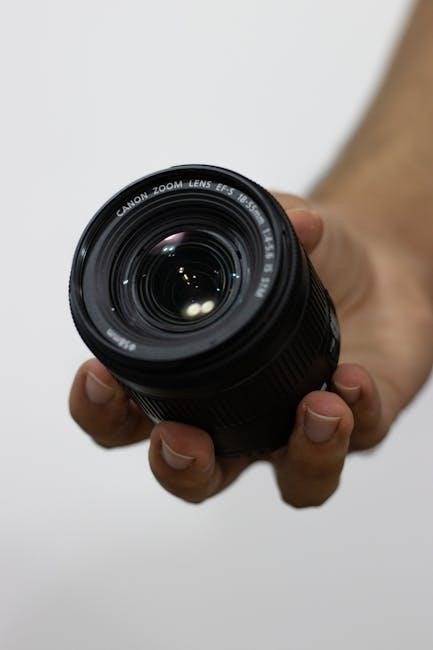
The Canon AE-1 utilizes the Canon FD lens mount. To attach a lens, align the red dot on the lens with the corresponding dot on the camera body. Gently insert the lens into the mount and rotate it clockwise until it clicks securely into place.
Ensure the lens is firmly attached before proceeding. To remove the lens, press the lens release button located near the base of the lens mount and rotate the lens counterclockwise. The manual emphasizes a gentle touch to avoid damaging the lens or camera body. Proper attachment is crucial for accurate focusing and light transmission, ensuring optimal image quality with your Canon AE-1.
Installing the Battery
The Canon AE-1 requires a 4LR44 or equivalent 6V battery to operate its electronic functions. Locate the battery compartment on the bottom of the camera. Use a screwdriver to open the compartment cover. Insert the battery, observing the correct polarity (+ and -) as indicated inside the compartment.
Ensure the battery is securely seated before closing the cover. The manual advises checking the battery after installation to confirm proper functionality. A weak or improperly installed battery will affect the camera’s metering and other electronic features, impacting image capture. Regular battery checks are recommended.
Loading Film into the AE-1
To load film, first open the camera’s back by sliding the film release lever. Insert the 35mm film cartridge into the film chamber on the left side. Pull the film leader across the camera and attach it to the take-up spool on the right.
Advance the film using the film advance lever until the rewind knob begins to rotate. Close the camera back, ensuring it latches securely. The manual stresses proper film loading for correct exposure and preventing damage. Always advance past any potentially exposed frames.
Understanding the Camera Controls
The Canon AE-1 features a shutter speed dial, aperture control, and exposure modes (AV & M). Mastering these controls, detailed in the manual, is key to operation.
Shutter Speed Dial
The shutter speed dial on the Canon AE-1 controls the duration of light reaching the film. Found on the top panel, it ranges from 2 seconds to 1/1000th of a second. The manual explains how slower speeds are ideal for low-light situations, while faster speeds freeze motion.
When set to ‘B’ (Bulb), the shutter remains open as long as the shutter button is pressed. Understanding the interplay between shutter speed and aperture is crucial for achieving proper exposure, as detailed within the comprehensive Canon AE-1 instruction manuals available online. Remember to consult the manual for specific guidance.
Aperture Control
Aperture, controlled by the lens itself, regulates the lens opening size, influencing both light intake and depth of field. The Canon AE-1 manual details how larger apertures (smaller f-numbers like f/2.8) create shallow depth of field, ideal for isolating subjects. Conversely, smaller apertures (larger f-numbers like f/16) yield greater depth of field, keeping more of the scene in focus.
The manual emphasizes that aperture settings directly impact exposure, working in tandem with shutter speed. Mastering aperture control, as explained in the downloadable guides, is essential for creative photographic expression with the AE-1.
Exposure Modes: AV and M
The Canon AE-1 offers two primary exposure modes: Aperture Priority (AV) and Manual (M). The camera’s manual thoroughly explains each. In AV mode, the photographer selects the aperture, and the camera automatically sets the shutter speed for proper exposure. This is excellent for controlling depth of field. Manual mode grants full control, requiring the user to independently set both aperture and shutter speed.
Downloaded guides highlight utilizing the built-in light meter in both modes; Understanding these modes, as detailed in the Canon AE-1 documentation, unlocks creative control and precise exposure.
Using the AE-1 in AV Mode
Aperture Priority (AV) mode lets you choose the aperture, while the Canon AE-1 automatically selects the optimal shutter speed for correct exposure, as detailed in manuals.
Understanding Aperture Priority
Aperture Priority, designated as ‘AV’ mode on the Canon AE-1, empowers photographers to directly control the depth of field within their images. By selecting the desired aperture – represented by f-numbers like f/2.8 or f/16 – you dictate how much of the scene will appear in focus. The camera then automatically calculates and sets the appropriate shutter speed to achieve proper exposure, based on its internal metering system.
This mode is incredibly useful for situations where depth of field is a critical creative element. A wider aperture (smaller f-number) creates a shallow depth of field, ideal for isolating subjects, while a narrower aperture (larger f-number) yields greater depth of field, keeping more of the scene sharp. Manuals emphasize mastering this interplay for artistic control.
Adjusting Aperture for Depth of Field
The Canon AE-1’s aperture control directly influences depth of field – the area of acceptable sharpness in your photograph. Lower f-numbers (e.g., f/2.8) produce a shallow depth of field, blurring backgrounds and isolating subjects, perfect for portraits. Conversely, higher f-numbers (e.g., f/16) maximize depth of field, ensuring sharpness from foreground to background, ideal for landscapes.
Manuals detail how to use the lens’s aperture ring to select these settings while in AV mode. Experimentation is key; observe how different apertures affect the image’s look. Remember, smaller apertures require longer shutter speeds, potentially necessitating a tripod to avoid blur.
Metering in AV Mode
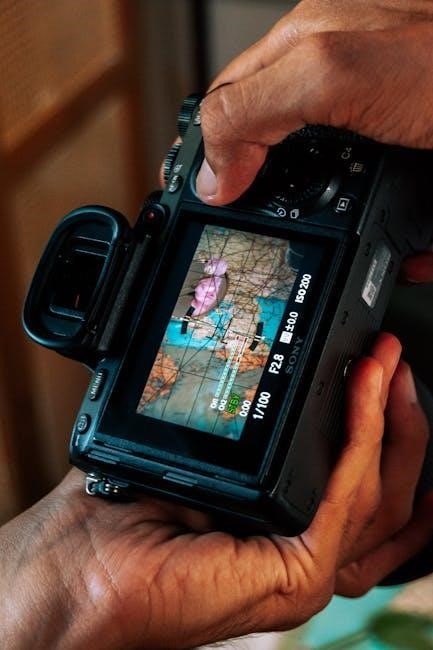
The Canon AE-1’s metering system is crucial when shooting in Aperture Priority (AV) mode. The camera automatically selects the appropriate shutter speed to achieve correct exposure, based on your chosen aperture and the scene’s brightness. The viewfinder displays a needle indicating exposure – centered means correct exposure, while deviations suggest over or underexposure.
Manuals explain how to use the light meter effectively. Consider scene contrast; the AE-1 typically meters an average of the scene. Utilize exposure compensation if needed, adjusting the meter reading for challenging lighting situations to ensure accurate results.
Using the AE-1 in Manual Mode
Manual mode grants full control; users independently set both shutter speed and aperture. The AE-1’s light meter assists, guiding optimal settings for proper exposure.
Setting Shutter Speed and Aperture
In manual mode, the photographer dictates both shutter speed and aperture, demanding a solid understanding of their interplay. The shutter speed dial, prominently located, controls the duration of light reaching the film. Faster speeds freeze motion, while slower speeds allow more light, potentially causing blur.
Simultaneously, the aperture ring on the lens governs the lens opening size, influencing both light intake and depth of field. A wider aperture (smaller f-number) creates shallow depth of field, ideal for isolating subjects, while a narrower aperture (larger f-number) yields greater depth of field, keeping more of the scene in focus. Mastering this balance is key to creative control.
Utilizing the Light Meter
The Canon AE-1 features a built-in light meter, crucial for achieving proper exposure in manual mode. Located within the viewfinder, a needle indicates whether the scene is underexposed, correctly exposed, or overexposed. To activate it, half-press the shutter button.
Adjust shutter speed and aperture until the needle centers on the “0” mark, signifying correct exposure. Remember the meter reads reflected light, so strongly lit or dark subjects may require exposure compensation. Understanding the meter’s guidance is fundamental to consistently capturing well-exposed photographs.
Focusing Techniques
Achieving sharp focus with the Canon AE-1 relies on precise manual operation. Look through the viewfinder and rotate the focusing ring on the lens until the image appears crisp and clear. Utilize the split-image rangefinder in the center of the viewfinder; align the two opposing images for optimal sharpness.
For moving subjects, pre-focus on a point where you anticipate their location. Depth of field, controlled by the aperture, also influences focus – a smaller aperture yields greater depth of field. Practice is key to mastering accurate focusing with this classic camera.

Advanced Features and Functions
The Canon AE-1 offers depth of field preview, a self-timer, and the capability for multiple exposures, expanding creative possibilities for photographers.
Depth of Field Preview
The Canon AE-1’s depth of field preview function is a valuable tool for precise focusing and creative control. By pressing the depth of field preview button, the lens stops down to the selected aperture, allowing you to visually assess the area that will be in focus in your final image. This is particularly useful for landscape or portrait photography where controlling depth of field is crucial.
Understanding how aperture affects depth of field is key. A smaller aperture (higher f-number) yields a greater depth of field, while a larger aperture (lower f-number) results in a shallower depth of field. The preview function ensures your artistic vision aligns with the technical outcome, preventing unexpected blur or sharpness.
Self-Timer Operation
The Canon AE-1 features a convenient self-timer function, ideal for self-portraits or situations requiring a delayed shutter release. To activate, move the shutter speed dial to the “B” setting, then press the self-timer lever located on the left side of the camera. A red lamp illuminates, indicating the timer is engaged.
The default delay is approximately 10 seconds, providing ample time to compose yourself in the frame. Pressing the shutter button initiates the countdown. The shutter releases automatically once the timer expires. Remember to disable the self-timer by returning the lever to its original position after use to ensure normal operation.
Multiple Exposures
The Canon AE-1 allows for creative multiple exposures, blending two or more images onto a single frame. To achieve this, after taking a picture, press and hold the film rewind button located on the bottom of the camera. This disengages the film advance mechanism.
Now, you can fire the shutter again without advancing the film, superimposing the new image over the previous one. Release the rewind button to resume normal film advance after each desired exposure. Experiment with different combinations to achieve unique artistic effects, remembering that each exposure adds to the overall brightness.
Troubleshooting Common Issues
Common problems with the Canon AE-1 include exposure inaccuracies, film advance failures, and battery indicator errors; manuals offer solutions for these issues.
Exposure Problems
Incorrect exposures with the Canon AE-1 often stem from improper battery function, affecting the camera’s metering system. Ensure a fresh battery is installed, as a weak one can lead to inaccurate readings. Refer to the manual for battery checks.
Also, verify the lens is correctly set for AE photography, as outlined in the instructions. If images are consistently over or underexposed, double-check the shutter speed and aperture settings, especially when using manual mode.
Consult the Canon AE-1 manual for detailed troubleshooting steps, including how to reset the camera’s exposure settings and recalibrate the light meter if necessary. Online forums can also provide user-specific solutions.
Film Advance Issues
Problems with film advancing in the Canon AE-1 can indicate several issues. First, confirm the film is loaded correctly, following the manual’s instructions precisely. Ensure the film leader is properly engaged with the take-up spool.
If the film isn’t advancing smoothly, check for obstructions within the film chamber. A partially torn film or debris can cause jamming. Gently remove the film and inspect it for damage.
The Canon AE-1 manual details how to manually advance the film if the motor drive fails. Online resources and forums offer troubleshooting tips from experienced users facing similar challenges.
Battery Indicator Errors
The Canon AE-1’s battery indicator provides crucial information about power levels. If the indicator displays incorrectly, or doesn’t illuminate, several factors could be at play. First, verify the battery is correctly installed, ensuring proper polarity as detailed in the camera manual.
Check the battery contacts for corrosion or debris, as this can impede conductivity. Try a fresh set of batteries, even if the current ones seem partially charged.
The Canon AE-1 manual explains the indicator’s behavior under different conditions. Online forums often discuss similar issues, offering potential solutions and diagnostic steps for resolving battery indicator errors.
Maintaining Your Canon AE-1
Regular cleaning and proper storage, as outlined in the Canon AE-1 manual, are vital. Protect the lens, store batteries correctly, and keep the camera dry.
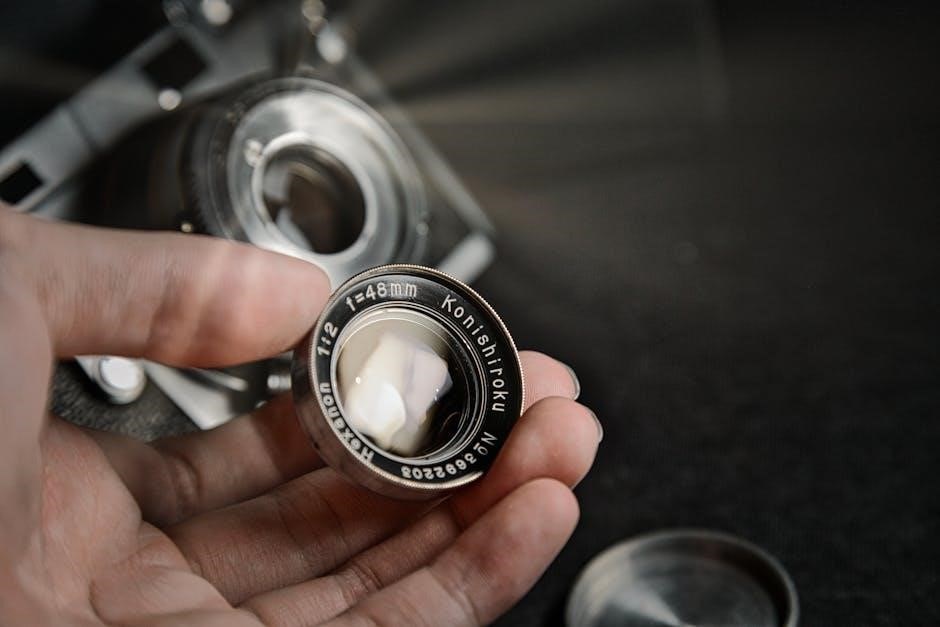
Cleaning the Lens
Maintaining a pristine lens is crucial for optimal image quality with your Canon AE-1. The camera manual recommends using a soft, lint-free cloth to gently wipe away dust and fingerprints. Avoid harsh chemicals or abrasive cleaners, as these can damage the lens coating.
For stubborn smudges, a lens cleaning solution specifically designed for camera lenses can be applied sparingly to the cloth, never directly onto the lens. Circular motions are best, working from the center outwards. Regularly cleaning the lens prevents image degradation and ensures your photographs remain sharp and clear, preserving the quality this classic camera is capable of delivering. Proper care extends the life of your valuable lens.
Battery Storage and Replacement
The Canon AE-1 utilizes a 4LR44 or equivalent 6V battery to power its electronic functions. When not in use for extended periods, remove the battery to prevent potential corrosion and damage. Store batteries in a cool, dry place, away from direct sunlight or extreme temperatures.
The manual advises checking the battery regularly, as low power can affect metering accuracy. Replacement is straightforward; simply open the battery compartment and insert a fresh battery, ensuring correct polarity. Using quality batteries ensures reliable performance and prolongs the lifespan of your AE-1. Always dispose of used batteries responsibly.
Proper Camera Storage
To ensure the longevity of your Canon AE-1, proper storage is crucial. When not in use, store the camera in a dry, dust-free environment, ideally in a camera bag or case. Avoid exposing the camera to extreme temperatures, humidity, or direct sunlight, as these can damage internal components and affect performance.
Remove the battery before long-term storage to prevent potential corrosion. Loosen the shutter speed dial to relieve tension on the mechanism. Regularly check the camera for any signs of mold or mildew, especially if stored in a humid climate. Careful storage preserves your AE-1 for years of use.
Resources and Further Learning
Extensive resources exist for the Canon AE-1, including downloadable manuals, active online communities, and forums dedicated to this classic camera’s use and repair.
Canon AE-1 Manual Download Links
Accessing the Canon AE-1’s documentation is remarkably easy thanks to numerous online archives. For the original English instruction manual, a direct download is available, providing comprehensive guidance. A quick start PDF manual (approximately 20 pages) offers a streamlined introduction to the camera’s core functions.
Furthermore, manuals for the AE-1 Program model, including German and French versions, can also be found. Canon’s AE-1 Program system booklet (73 pages, 2MB PDF) provides detailed information. Central Manuals also hosts a downloadable resource. These links ensure users have ample support for mastering their AE-1.
Online Communities and Forums
Beyond official manuals, a wealth of knowledge resides within online communities dedicated to the Canon AE-1. These forums serve as invaluable resources for troubleshooting, sharing experiences, and learning advanced techniques. Enthusiasts readily assist newcomers with questions regarding operation, maintenance, and repair.
Dedicated groups often host discussions on lens compatibility, film choices, and creative applications. Sharing photos taken with the AE-1 fosters inspiration and provides constructive feedback. These platforms offer a collaborative environment, extending the camera’s lifespan through collective expertise and passion.
Recommended Accessories
Enhance your Canon AE-1 experience with carefully selected accessories. A quality light meter, though the AE-1 has built-in metering, provides greater precision in challenging lighting conditions. Lens filters – UV, polarizing, and neutral density – expand creative possibilities; A comfortable neck strap is essential for portability, and a camera bag offers protection during transport.
Consider a lens hood to minimize flare and improve contrast. Investing in a cable release reduces camera shake during long exposures. Regularly cleaning supplies, like lens cloths and brushes, maintain optimal image quality. These additions maximize the AE-1’s potential.
Related Posts
singer touch and sew manual
Lost your Singer Touch & Sew manual? Don’t stress! We’ve got a collection of manuals to get your sewing machine humming again. Easy downloads & helpful resources!

nissan rogue 2011 owners manual
Lost your 2011 Nissan Rogue manual? Find a downloadable version right here! Everything from maintenance to features – keep your Rogue running smoothly. **Nissan Rogue** made easy!

onan 4000 genset manual
Need an Onan 4000 genset manual ASAP? Download a reliable guide to troubleshoot, repair, & maintain your generator. Keep the power flowing smoothly!